
Quick tips for getting a good quality voice recording at home
If there’s one thing we’ve learned in 2020-21, it’s that flexibility is the name of the game.
With 2022 already starting on shaky ground following the explosion of omicron in Australia and around the world, it’s probably best not to pack up that WFH setup just yet.
We’ve learned a lot over the past two years about background blurs, lighting, and YOU’RE ON MUTE AGAIN BOBBY… But one thing I’ve noticed most people still aren’t quite nailing is their audio quality.
So whether you’ve had a presentation move online, are stuck in iso and need to pre-record a talk, or perhaps you’ve decided to start your own webinar series or podcast – Think in Colour’s Video Producer, Dan Ryan, has collated some simple tips to help you achieve the best possible sound quality from the comfort of your own home.
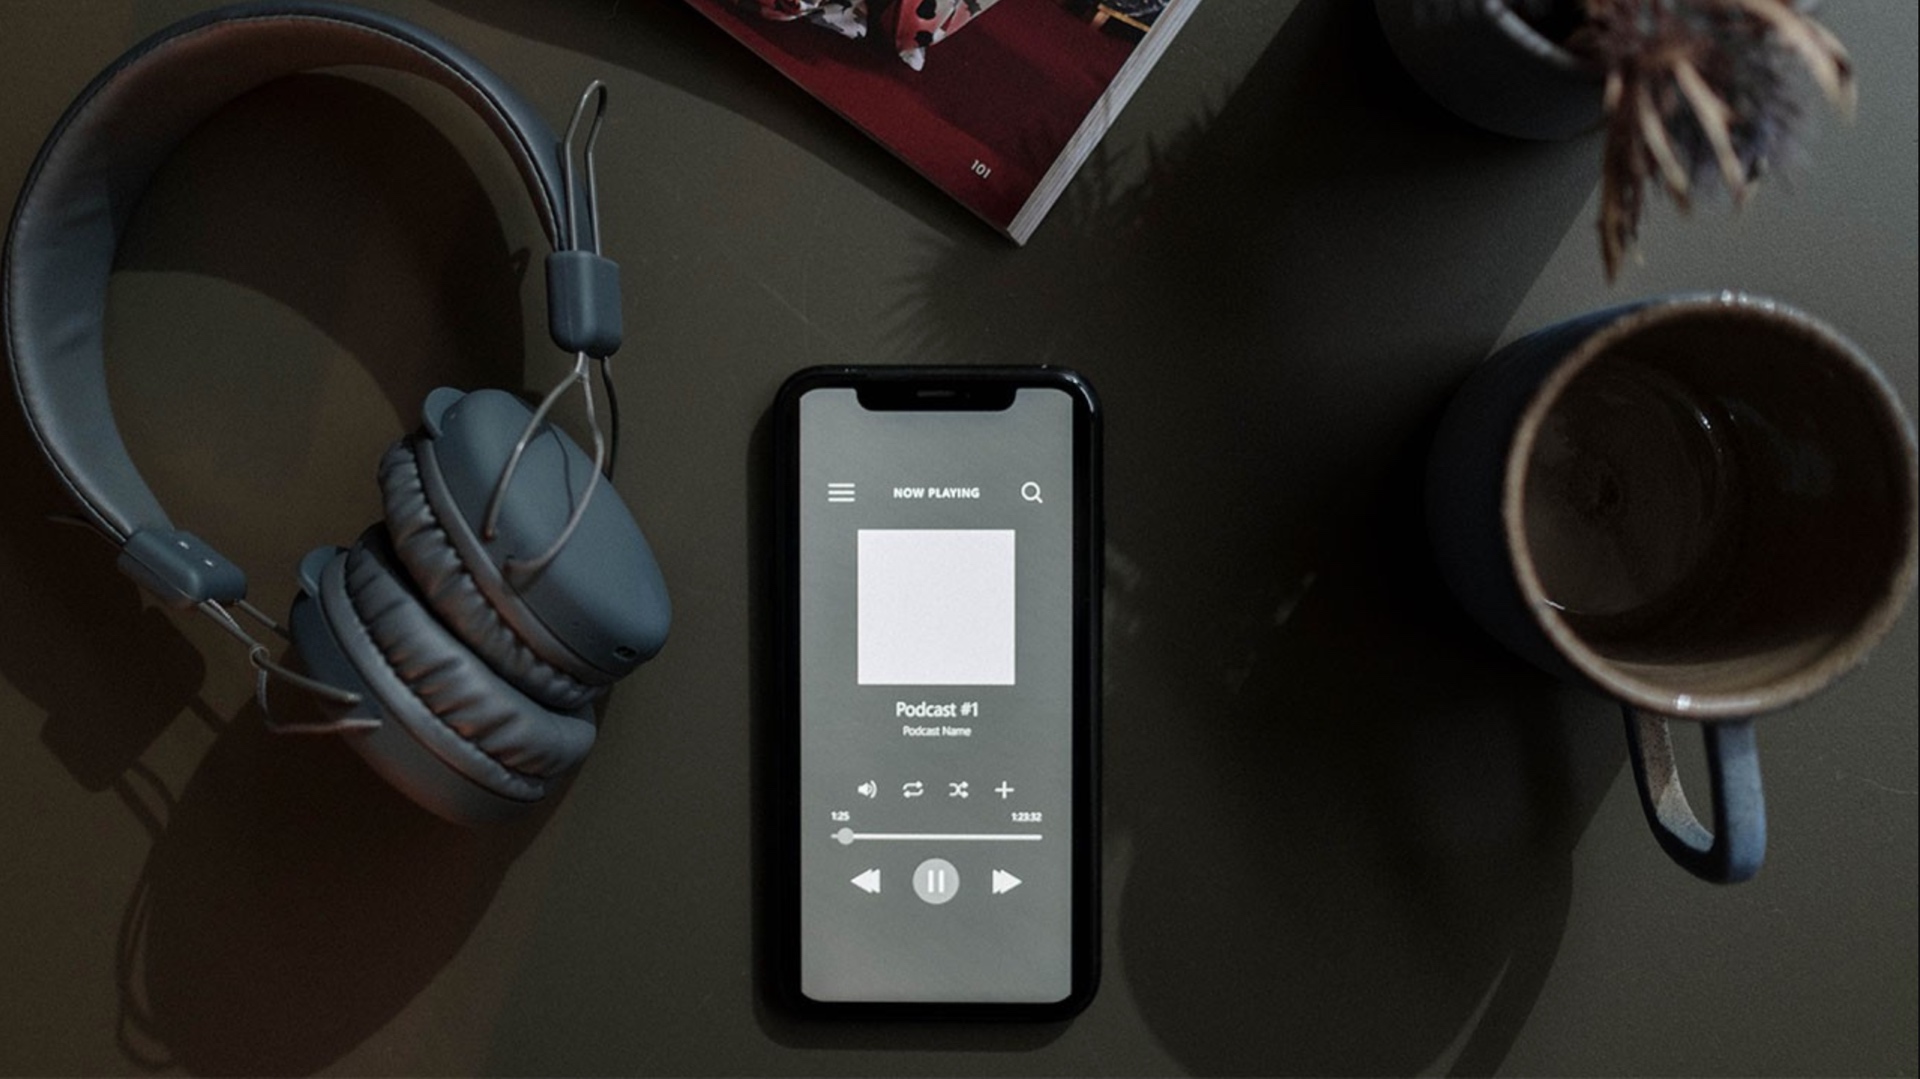
(For the purpose of this article, I’ll assume you’re using a smart device with an in-built microphone or earbuds, wired or wireless. These tips work for dedicated recording devices too)
What you don’t want:
– Ambient/ background/ unwanted noise (air conditioner, fridge, traffic, birds)
– Loud echoes and room reverberation
– Noisy clothes (I’ll explain this further down)
– Too much variation in volume
– Speaking too loudly or softly
– Paper shuffling
– Distortion and popping sounds from plosive consonants
What you do want:
– The quietest room in the house (often the smallest)
– An even level of volume that isn’t too loud or too soft
– A confident performance (know your material/ message)
– A high fidelity recording
– The least amount of background noise you can achieve
Ambient noise:
To reduce the chances of unwanted, ambient noise being captured in your recording, avoid being too close to fridges, air conditioners, windows and creaky floors. A great way to limit sounds from traffic and birds is to record late in the evening or very early in the morning before sunrise.
Echoes and reverberation:
Record in the smallest, least echoey room in the house, away from noisy appliances, air conditioners and computer fans. A walk-in robe (or wardrobe) is a great option. Failing that, record with a heavy blanket hanging in front of you to stop the direct sound from your voice hitting a hard surface and returning to your microphone in the form of an echo. Even better if you can have a blanket behind you as well to create further sound dampening. When selecting a room, try to find a space with lots of random and/or dead surfaces. Think bookcases, pictures on walls, carpet, curtains etc. Anything that gives the potential reverberation of your voice the greatest chance to defuse naturally in the space. If you’re really struggling to find a suitable space, recording inside your car (while stationary with the engine off obviously) is a good option too.
Noisy clothes:
Wear soft clothes and avoid synthetics, buttons, zips, loose jewellery (earrings, bangles, necklaces) or particularly loose clothing that may move as you adjust your weight from foot to foot while recording (this might be TMI but I always record shirtless). Believe it or not, the sound of your clothes moving around you can easily be captured by a microphone, especially when you’ve eliminated all the other ambient sounds.
Too much variation in volume:
Stand at a fixed distance from the mic or device. If you can, use a microphone stand, shelf or steady surface to position the recording device on. If you’re using wireless headphones like Apple Air Pods, wear them in your ears but be sure to avoid touching them with hair, high collars or hoods. If you’re using a wired, iPhone style headset, hold the microphone at a fixed distance as best as you can (without touching the actual mic).
Use headphones to monitor or listen back to your performance: This will give you a much better impression of what the room sounds like to a microphone compared to your ears while you perform your script.
Avoid distortion and popping sounds:
An old trick to reduce the chances of distorted plosives (consonant sounds like ‘p’ or ‘k’ that deliver air forcefully into the mic) is to take a metal coat hanger, make it into a rough circle and stretch some stockings over it. Hold this in front of the mic to help decelerate the air before getting to the microphone’s diaphragm. If you’re struggling, google ‘homemade pop filter’.
A confident performance:
Be as familiar with your script as possible and be sure not to rush. Perform your delivery a little slower than you might naturally talk to make sure you hit all the consonants clearly and reduce the chances of words slurring together. A cup of hot tea with a little lemon and honey will help warm up your vocal chords. If reading your script from paper, avoid rustling or page turning as best as you can.
High fidelity recording:
Be sure to set your devices to the highest resolution recording available. If your device has some kind of visual volume meter, aim to have the average volume at around -4db.
Pro tip: If it’s suitable to use music for your video or final product, music will mask most unwanted noises that snuck into the recording.
Post production:
To get the best final result, finding a sound engineer to perform the final touches on your recording is the best to make your recording really shine. Many audio engineers will provide this service remotely and quickly for a minimal fee.
If you’re interested in learning more, please feel free to get in touch with Dan, who can help field any questions about recording techniques, technology and theory.
dan@think-in-colour.com.au / www.linkedin.com/in/shadowhousemusic